Effortless Tradescantia Propagation: Grow More Plants For Free
Known affectionately as the Wandering Jew or Inch Plant, Tradescantia varieties captivate with their dazzling foliage and resilient nature. From deep purples to variegated greens and silvers, their leaves add a splash of vibrant color to any indoor space. But beyond their aesthetic appeal, Tradescantias hold another delightful secret: they are incredibly easy to propagate. If you’ve ever dreamed of expanding your plant collection without dipping into your wallet, learning to propagate Tradescantia is your ultimate shortcut to a greener home.
This comprehensive guide will demystify the process of Tradescantia propagation, offering step-by-step instructions, expert tips, and insights to ensure your success. Whether you’re a seasoned plant enthusiast or just starting your journey into the world of plant parenting, you’ll discover everything you need to know right here to grow more plants for free. Let’s dive in!
Why Tradescantia is the Perfect Plant for Propagation
Tradescantia, native to the Americas, encompasses a diverse genus with around 85 species, many of which are popular houseplants known for their trailing habits. Their charm lies not only in their striking, often striped or variegated leaves but also in their remarkable adaptability. This makes them ideal for both beginners and those with less-than-green thumbs.
- Fast Growers: Tradescantias are notoriously quick growers, often adding an inch of growth per week and reaching impressive lengths of 1-2 feet. This rapid growth means more material for cuttings and quicker gratification when propagating.
- Resilient and Forgiving: They tolerate a range of conditions, bouncing back easily from minor neglect. This resilience extends to their cuttings, which tend to root readily with minimal fuss.
- Cost-Effective Expansion: Why buy new plants when you can multiply your existing ones? Propagating Tradescantia is a fantastic way to fill your home with lush greenery, create thoughtful gifts for friends, or even rejuvenate a leggy, overgrown plant, all at no extra cost.
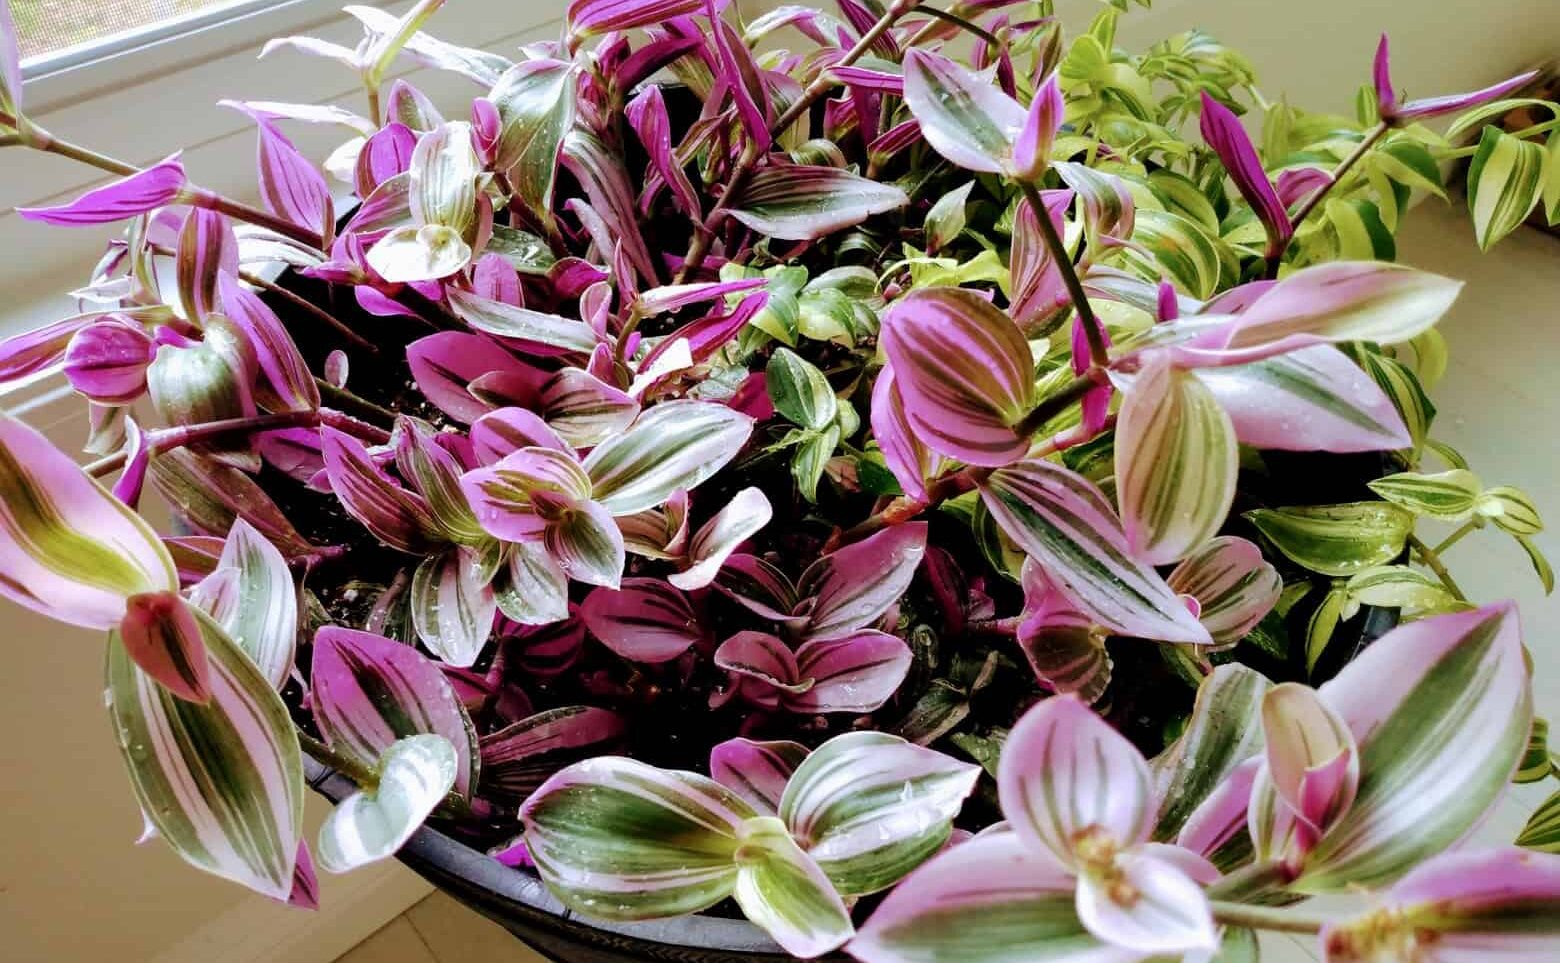
- Visual Appeal: With varieties like Tradescantia zebrina (striking purple and silver stripes), Tradescantia pallida (deep purple foliage, often called Purple Heart), and Tradescantia fluminensis (green with white or pink variegation), you can easily diversify your collection through propagation.
The sheer ease of Tradescantia propagation makes it an incredibly rewarding project. As the "Plants Craze" source highlights, they are "pretty effortless to propagate if you know the tricks," and we're here to share all those tricks!
Gathering Your Tools: What You'll Need for Success
Before you embark on your propagation adventure, a little preparation goes a long way. You don’t need a specialized laboratory, but having the right basic tools ensures a smooth and successful process. For a deeper dive into the essential tools and methods, consider reading our guide on Master Tradescantia Propagation: Essential Tools & Methods.
-
Sharp, Clean Cutting Tool: This is arguably the most crucial item.
- Why it's important: A clean, sharp cut prevents crushing the stem, which can hinder root development and introduce diseases. Blunt tools can damage plant tissues, making healing and rooting more difficult.
- Options: Small, sharp scissors, bypass pruners, or a sterile craft knife work wonderfully. Always sterilize your tool with rubbing alcohol or a 10% bleach solution before and after each use to prevent the spread of pathogens.
-
Containers for Rooting: You'll need something to hold your cuttings.
- For Water Propagation: Clear glass jars, old plastic bottles, or even shot glasses are perfect. The transparency allows you to observe root development.
- For Soil Propagation: Small pots (2-4 inches), seed starting trays, or repurposed yogurt containers with drainage holes are ideal. Terracotta pots offer good airflow, while plastic retains moisture well.
-
Rooting Medium: Your cuttings need a place to grow roots.
- Water: The simplest medium. Ensure it's clean, preferably filtered or distilled water, but tap water left out for 24 hours to dissipate chlorine also works.
- Soil: A light, well-draining potting mix is essential. Avoid heavy garden soil. A mix formulated for houseplants or seed starting will provide good aeration and moisture retention without becoming waterlogged.
-
Rooting Hormone (Optional): While Tradescantia is vigorous and often roots without assistance, rooting hormone can speed up the process and increase success rates, especially for those new to propagation.
- How to use: Follow the product instructions carefully. Typically, you dip the cut end of the stem into the powder or gel before planting.
Mastering the Art of Stem Cuttings
Stem cuttings are by far the most popular and easiest way to propagate Tradescantia. The key to success lies in selecting the right stems and making precise cuts.
1. Selecting the Perfect Stems
Not all stems are created equal. Choose wisely to give your new plants the best possible start:
- Health and Vigor: Opt for stems that are robust, firm to the touch, and free from any signs of pests, diseases, or wilting. Healthy parent material leads to healthy new plants.
- Optimal Length: Aim for cuttings that are 4-6 inches long. This length provides enough energy reserves for the cutting to root, without being so long that it struggles to support itself or dehydrates too quickly.
- Presence of Nodes: Nodes are the tiny bumps or junctions on the stem where leaves emerge. These are crucial because they contain the meristematic tissue from which new roots (and leaves) will sprout. Ensure your chosen stem has at least 2-3 nodes.
2. Making the Cut
Once you’ve identified your prime candidates, it’s time to make the cuts:
- Cut Below a Node: Using your sterilized, sharp tool, make a clean cut about half an inch below a node. Cutting at an angle (45 degrees) can sometimes slightly increase the surface area for root growth, but a straight cut works just as well.
- Remove Lower Leaves: Gently strip off the leaves from the bottom 1-2 nodes. These lower nodes will be either submerged in water or buried in soil, and any leaves left on them would rot, potentially introducing disease to your cutting.
Congratulations, you now have your Tradescantia cuttings ready for rooting! For a detailed walkthrough on each step, check out our guide on Propagate Tradescantia: Easy Step-by-Step Guide for Success.
Choosing Your Method: Water vs. Soil Propagation
Tradescantia cuttings are incredibly versatile and can successfully root in either water or soil. Each method has its advantages:
Water Propagation
This is often the go-to method for beginners because you can visibly watch the roots develop.
- Prepare the Container: Fill your clean glass container with fresh water.
- Insert Cuttings: Place your cuttings into the water, ensuring that at least one (preferably two) of the stripped nodes are submerged. Keep the leaves above the waterline.
- Placement: Position the container in a spot that receives bright, indirect light. Avoid direct, harsh sunlight, which can overheat the water and stress the cuttings.
- Maintenance: Change the water every few days (or at least once a week) to keep it fresh and prevent bacterial growth. You’ll typically see roots begin to form within 1-3 weeks.
- Transplanting: Once the roots are about 1-2 inches long, your cuttings are ready to be transferred to soil. This usually takes 2-6 weeks. Plant them gently into a small pot with well-draining potting mix.
Tip: While exciting to watch, water-rooted plants can experience a slight "transition shock" when moved to soil. To minimize this, ensure the soil stays consistently moist for the first week or two after transplanting, gradually reducing watering as the plant adjusts.
Soil Propagation
Rooting directly in soil can sometimes lead to stronger root systems that are better adapted to their permanent home, reducing transplant shock.
- Prepare the Pot: Fill a small pot (2-4 inches) with a well-draining potting mix. Moisten the soil thoroughly until it’s evenly damp but not soggy.
- Plant Cuttings: If using rooting hormone, dip the cut end of each stem into the hormone powder/gel. Use a pencil or your finger to create a small hole in the soil. Insert one or more cuttings into the hole, ensuring the nodes where roots will form are buried. Gently firm the soil around the base of the cuttings.
- Create Humidity (Optional but Recommended): To provide a humid microclimate, you can cover the pot with a clear plastic bag, a humidity dome, or even a repurposed plastic bottle with the bottom cut off. Just ensure there's some ventilation to prevent mold.
- Placement: Place the potted cuttings in a location with bright, indirect light and consistent room temperatures (65-75°F / 18-24°C).
- Maintenance: Keep the soil consistently moist but never waterlogged. You can gently tug on a cutting after a few weeks; if you feel resistance, it means roots have formed. This usually takes 3-6 weeks, sometimes longer depending on conditions and variety.
Tip: Propagating in early spring when the plant is actively growing can significantly improve your success rate, as the plant has more energy to dedicate to root development.
Caring for Your New Tradescantia Cuttings
Once your cuttings have rooted, whether in water or soil, they are still young and tender. Proper care will help them grow into thriving, mature plants.
- Light: Continue to provide bright, indirect light. Direct sun can scorch their delicate new leaves.
- Watering: If in soil, maintain consistent moisture. Allow the top inch of soil to dry out before watering again. Avoid overwatering, which can lead to root rot.
- Humidity: Tradescantias appreciate higher humidity, especially during their rooting phase. Misting occasionally or placing them near a humidifier can be beneficial.
- Fertilizing: Hold off on fertilizing until the plant is well-established and showing new growth, typically a month or two after rooting. Then, use a diluted liquid houseplant fertilizer during the growing season.
- Pinching for Bushiness: As your new Tradescantia grows, you might notice it becoming leggy. To encourage a fuller, bushier plant, simply pinch back the growing tips. You can even propagate these pinched-off tips to create even more plants!
Conclusion
Propagating Tradescantia is undeniably one of the most rewarding and straightforward plant projects you can undertake. With their stunning foliage, rapid growth, and inherent resilience, these plants practically beg to be multiplied. By following these simple steps – from selecting healthy stems and making clean cuts to choosing between water and soil propagation, and providing diligent aftercare – you can easily grow a flourishing collection of Tradescantias without spending a single penny.
So, gather your tools, choose your favorite variety, and get ready to witness the magic of plant propagation firsthand. You'll soon find your home overflowing with vibrant, trailing beauty, all thanks to your own efforts to propagate Tradescantia.